Close the introduction window as there is a bug in InDesign which makes it open up very slowly, after checking the box.
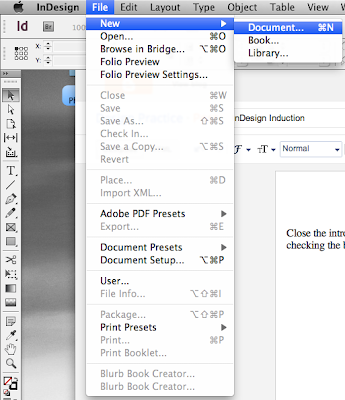
When InDesign is ready, open up the file menu and create a new document.
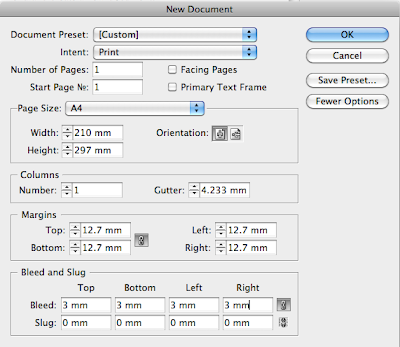
The first thing you choose from there is your paper size - these options are the same in all software. But must be the size of the intent I am designing. As well as that we have the number of pages selection which speaks for itself. Facing pages must only be selected if working in book format. If I click the More Options button it will display a series of guiding options.
Gutter - Space between columns for text.
Margins - Guides to put on the edges of the page to help.
Bleed - Extends the image slightly for cutting later.
Slug - Sets where everything is printed like guides and fold marks.
The main black edge is where the document will be cut down, the purple/pink lines are the margins within the document and the red line is the bleed.

To insert pages you can use the tabs on the right and then select add pages. Select the number and you will then see them in your document.

When it comes to facing pages, the outcome looks like this.

To put guides on a page, go to layout and then use the relevant settings.

To lay type into InDesign, you use the type tool in the same way as other software, if you have no content to display then you can fill with placeholder text.

You can make lots of different text boxes to help with layout of different parts ie Headings or other articles.
You can also place text from other sources by going into File and pressing place to select it.


You can also split text up into columns if there is too much text for one. You can do this by clicking the red box if the text is more than the column and then dragging a new text box.

When creating your image in Photoshop for the layout in InDesign, you must:
- Use the actual size of the image
- Use the right colour mode - CMYK
- Use the right resolution.
- Save the file into a .tif or a .psd
When creating your image in Illustrator you must:
- Use the right colour mode - CMYK
- Save into the appropriate format .ai
To add images into InDesign, you use the same actions as taking text from another source.

InDesign was a lot easier to use than I expected, and I can see this becoming very useful in my work in oncoming briefs.
When using inDesign, one must remember to keep the images used in the same place as the document because all images used are links to the original files and are only showing a preview.
If the image is in the wrong size:

To scale down a photo, it is exactly the same as other software, just select the content grabber and then resize from the corners.

Benefits of InDesign is you can edit any of the source photos and it will automatically update into the indesign file. Including colour mode and size.
If you save a file as a psd. you can then contain layers in your image such as transparency. Here's an example:

If you are wanting to have a recurring aspect on each page, insert into the master page and it will work for you.
You can also use text wrap to lay text around an image or frame. You can also customise the margins around the frame to make sure everything fits well.

The last thing to do with inDesign is to save the file. To save it into a pdf, using press quality is the highest you can get.
Leave your comment