Title = Cyan.
Images = Magenta.
Body Copy = Yellow.
I kept everything to scale to help me see if there would be any problems further down the line with sizing.

After drawing out the margins and page size on my layout pad, I used this as a template to design the pages of my book by putting it beneath a new page each time. Each time, after drawing it out, I would re-create it on InDesign to keep the process flowing.


After I had designed a few pages of the book, I looked back on them and hated what I'd done. It looked plain, boring, easy to follow but uninteresting. I wanted to make my books interesting and more grid based than what I had done so I started again. I also realised that without the imagery in place I would never be able to tell how anything looked properly until the end.
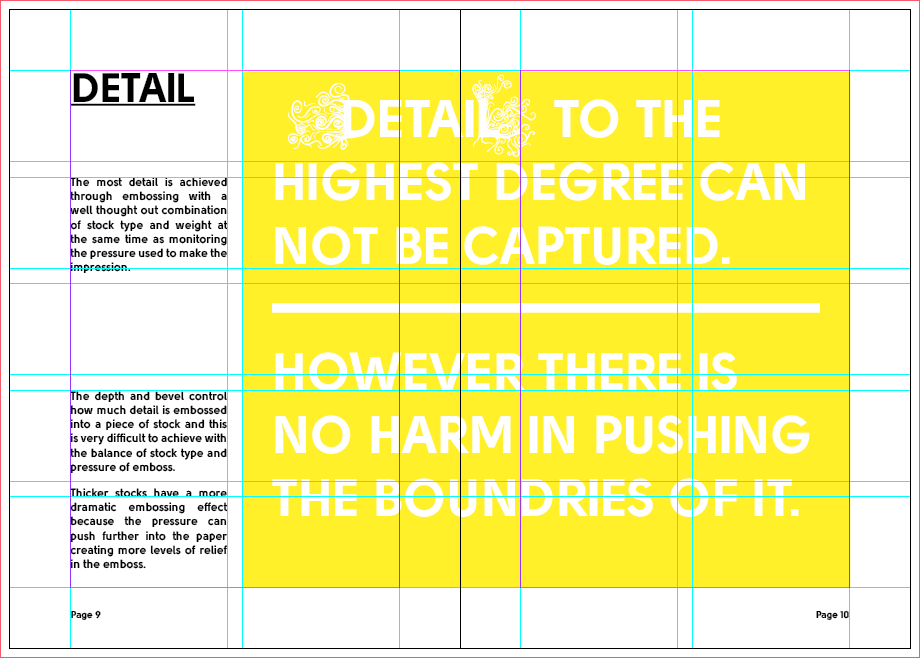
This is when I created this spread, which I much preferred and decided the style suited the book a lot better than what I was doing in the first place. This is how I will design the rest of the book's content and the other books too.

I also put some pagination markers beneath the bottom margin on each page too.


I realised after these spreads that the illustrations were taking a lot of time to get them right so I concentrated on the type for the rest of the spreads.


After i had finished all of the spreads for the screen printing book I moved onto the next book which was embossing.


And finally, the Lino-cut printing book.


After I had done all the illustrations in the correct size I placed them within the InDesign document and made adjustments where necessary.


Lino-cut Printing Book.